It’s a truth, near universally acknowledged, that before you jump into to owning an expensive drone such as the DJI Phantom, you should first cut your teeth on something considerably cheaper. The reason is twofold – firstly, you need to get some practice at how to actually fly a drone before letting yourself lose with an expensive one, and secondly (following on directly from the first point) – at some point you’re going to get your drone stuck in a really tall tree, and it will be much less annoying if it cost less than $100 than if it cost nearer $1000.
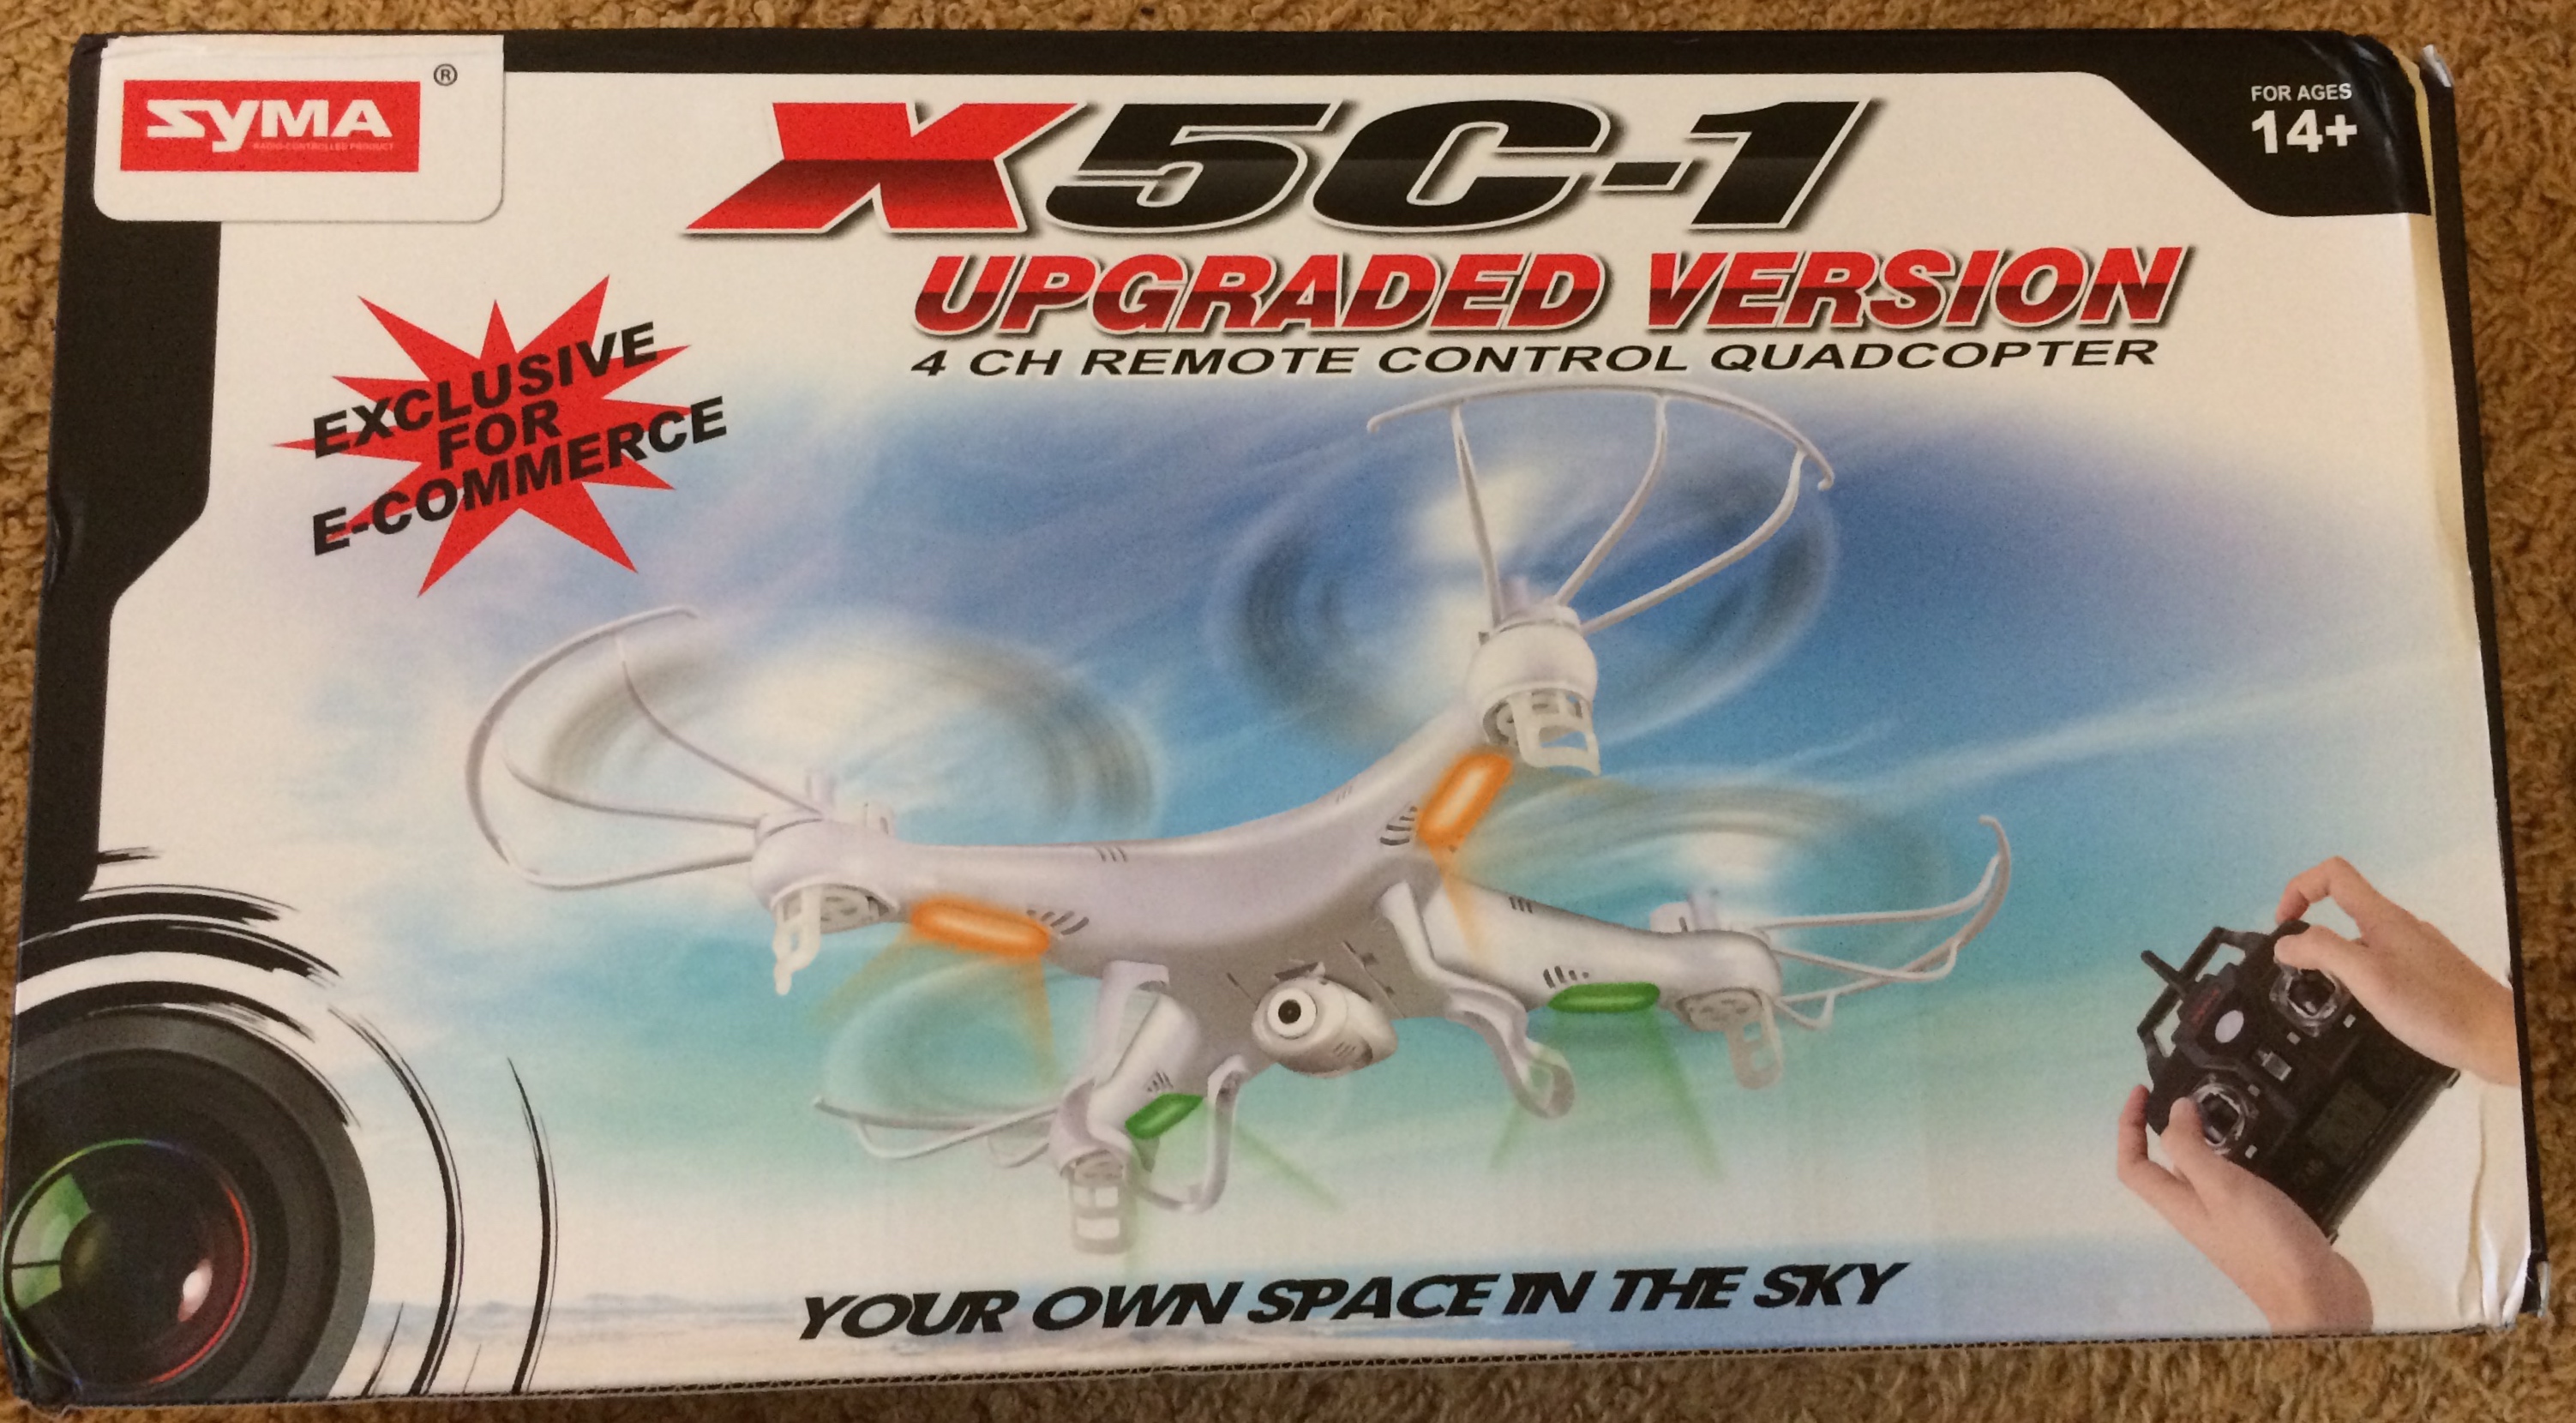
With that in mind, I went ahead and purchased a Syma X5C-1 on Amazon. It shipped directly from ChIna, arriving less than a week later in a bubble wrapped box. The XC5-1 is an upgraded version of the XC5 – the main difference seems to be that the -1 version has an upgraded gyroscope and is therefore more stable. It’s a larger quadcopter than the likes of the Hubsan X4, measuring about 10 inches diagonally excluding the rotors, and 15 inches including the rotors and guards. It’s clear that Syma have based the design on the DJI Phantom – the X5C-1 looks like nothing more than a scaled-down Phantom, right down to the red and green lights on the underside. It comes with a spare set of rotors, some rotor guards which can be fitted for flying indoors (more on this later), a 500mAh battery and a USB charger. Additional (and slightly uprated) batteries can be purchased easily and cheaply on Amazon which, given the short flying time of approximately 7 minutes, is well worth it. The remote control is a rather plasticky affair, with a series of fake moulded buttons on its lower half. Still, you have to remember that this is a drone that costs less than $70. The camera is mounted to the base of the drone on the battery compartment lid, pointing down about 20 degrees from the horizontal when the drone is level. It can be removed by unclipping it at the front and undoing two small screws from the inside of the battery lid; the power feed to the camera comes via a separate external cable which can be unplugged. Removing the camera makes the drone lighter, and gives access to the ‘eversion’ aerobatic mode.
 Once the battery is charged, it is inserted into the X5C-1 and plugged into the power socket. The drone can then be powered up. The LED lights initially blink rapidly while the gyroscope stabilises, then slowly while it waits for a connection from the remote control. Once the RC is switched on, you move the left stick all the way up and then all the way back to pair up the controller with the drone – at this point the lights stop flashing and you’re ready to fly.
The basic controls are as follows:
- on the left stick up and down controls the speed of the motors and hence the thrust put out by the rotors. This axis is not spring mounted so can be adjusted continuously and easily.
- Left to right on the left stick controls the yaw – the horizontal rotation of the drone around its central point, so akin to the peddles on a helicopter.
- The right stick controls the pitch of the drone, and hence its motion – forward, backward and side to side.
It’s worth remembering that this is all based on the drone being oriented facing directly away from you (i.e. with the camera looking forward – if you rotate the drone through (for example) 180 degree using the yaw control, then all the directions on the pitch controls will be reversed relative to your perspective. For this reason, it’s generally sensible to keep the drone oriented in the same direction to begin with at least, so as not to get confused!
The other controls on the drone are as follows:
- trim controls for the yaw and pitch controls. This allows the drone to be set up to fly in a neutral configuration when the controls are released, so you can make micro adjustments to these trim settings until the drone hovers as neutrally as possible.
- camera controls – next to the left stick – these allow the camera to take a still photo (push up) or to start and stop video recording (push down).
- “eversion” button – on the top right corner of the remote – when the camera is removed, this makes the drone perform a “flip over” manoeuvre.
Flying the X5C-1
Like (I suspect) most people, I first tried out flying the X5C-1 indoors. I would strongly recommend this approach – while the drone is relatively easy to fly, it is certainly worth gaining some experience of the controls and handling in a controlled environment before venturing into the great outdoors. The drone is stable enough to fly quite easily inside with a a bit of practice, and with the blade guards fitted, even bumping into furniture is not a problem. Initially it can be useful to ‘skate’ the drone across the floor without fully taking off to get a feel for the pitch controls. Then, you can practice going into a hover a metre or so off the ground. At this level, you’re clear of the ground effect interaction of the rotors, and so it is a good point to try to set up the trim of the drone to make it as stable as possible. Be aware though, that even with the trim set perfectly, be X5C-1 will likely drift a little based on the momentum it has from its previous direction of travel, do it is necessary to actively fly the drone much of the time, albeit only to make small corrections. Similarly, the thrust control is likely to need continual small adjustments to keep the drone steady. The battery is said to give around 7-9 minutes of flying time – this seems fairly accurate, though clearly the exact time will vary depending on how hard and fast you fly the drone.
Once you’ve got the hang of controlling the X5C-1 inside, you’re going to want to try it outside. It’s then that the real fun starts…! Firstly, you need to pick a good location to try it out. Ideally, this will be a wide open space where you can retrieve the drone with ease, and where there are not too many trees (especially not if those trees are tall…) Secondly, you need a very still day with no wind. Even when there is very little wind apparent at the surface, there is often a breeze a bit higher off the ground, and the XC5-1 is so light and with a relatively large surface area that it can easily be moved along by the wind and taken in a direction you don’t intend. Thirdly, you need to think about battery life and not be too ambitious. It’s a good idea to set a timer on your phone for around 5 minutes, and once it goes off look to bring your drone back to a range where if it falls from the sky, it won’t be damaged or stuck somewhere. The XC5-1’s low battery routine is very short – you get about 5-10 seconds of flashing lights and reduced power, and then the motors spool down all together – so if it is up high it will drop! Also consider the range – the transmitter seems to be good for around 50m, though this likely depends on the battery strength in the transmitter. Once out of range, the motors don’t immediately stop; instead they reduce power a bit, presumably to let the drone come down a bit and (hopefully) coming back into range, before powering down completely. Again though, if that happens when your drone is high up over a large tree, the outcome could be problematic…
Although you will likely ignore this advice (and as you can see from the video below, I did with near-disastrous consequences) try not to be too ambitious on the first few flights. It’s very tempting to immediately take the drone up as high as possible, in order to see what the camera can see. However, as I can attest, once the drone is up high (and it gets high pretty quickly!) it is hard to see it and to judge the direction in which it is moving, or what level of throttle you need to bring it down to earth in a controlled manner. You have been warned…
With all that said, how does the X5C-1fly? The answer is, for a $70 drone, extraordinarily well. It is powerful enough to climb quickly, and stable enough in still wind conditions to be very controllable with a bit of practice. Obviously it doesn’t have the GPS and optical sensors of higher spec drones, meaning that it cannot hold its position precisely, and instead will drift with its momentum and/or the wind, but in the context of a drone costing around 10% of what those drones cost, this is understandable.
The camera records a video file at 720p / 24 frames per second to a 2GB micro SD card which is included with the drone. Although it is not specified, I think the camera may actually have a 640 x 480 sensor and upscale the output to 720p. As such the image quality is not fantastic, but again this has to be considered in light of the overall cost of the drone. In bright conditions the output is acceptable, though with some artefacts, particularly on motion. At lower light levels the quality does start to suffer, with the video becoming muddy and noisy. Also, since the camera is not gimballed in any way, the footage necessarily moves along with the drone’s movement. In level hovering flight however, the angle of the camera is quite well set up to capture a good landscape view of the ground (see for example 2:30 in the video below).
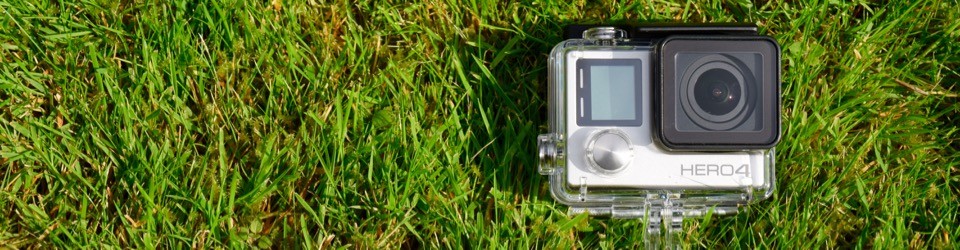
Below is a video of my first outdoor flight with the X5C-1. As you can see, I’ve cut together footage of the drone from a head mounted GoPro with footage from the drone’s camera. As you can also see, the video ends in a bit of a disaster with the drone stuck in a tall tree!
I’m still not really sure what happened – I think it was a combination of me being not quite aligned on to the drone’s direction of travel, leading to confusion about the controls, and also failing to appreciate and correct the momentum the drone had built towards the tree before it was too late! “How to get a drone down from a tree” could well be the subject of a future article, but suffice to say that after a fair amount of time constructing a very long pole from garden canes, and with some help from a neighbour, AND after climbing the bottom bit of the tree, I managed to get it down and still working perfectly!
In conclusion then, the Syma X5C-1 is an astonishingly good budget drone – indeed it is hard to believe that something as fun as this is available for as little as $70. It’s definitely an ideal stepping stone for a complete drone novice to learn the ropes on before progressing on to something more advanced and expensive, but equally even if you have no plans to upgrade it is great fun in its own right. In any events, we are happy to recommend the Syma X5C-1 – just stay away from those trees!