GoPro “Chesty” Chest Harness
 The GoPro “Chesty” Harness is probably our favourite our favourite mounting option for mountain biking, but it requires a little bit of tweaking to get right. Firstly, because your torso is leaning forward on the bike, the standard Chesty arrangement would have the GoPro pointed straight at the top tube. Instead, you need mount the GoPro upside down, so it hangs below the mounting plate. This means or can be tilted upwards to compensate for your forward lean. It also means that the resulting footage is upside down, but that can be rectified either by putting the GoPro into “UPd” shooting mode, or by rotating the image through 180 degrees when editing.
The great thing about using the GoPro chest mount is that it captures what you’re doing on the bike – you can see the whole of the handlebars and your arms, so when you brake or shift gear it is all captured.You can also see the wheel and front forks working and spot when the bike is in the air – all of this makes the footage of an average ride much more interesting. In addition, your chest makes a nice stable filming platform platform, and doesn’t move around as much as your head. It’s also easy to see what the camera is up to and change the shooting modes.
Disadvantages? Used on the GoPro’s 170 degree wide angle setting, the Chesty does give your arms a strange “monkey-like” look – they seem ridiculously long as they curve in from both sides of the screen. But after a while you get used to that. And, like nearly all the MTB mounting options, we find it best to mix up the shots from various different mounts in the final edit – unless you’re doing something properly extreme, an unchanging perspective tends to get boring quite quickly.
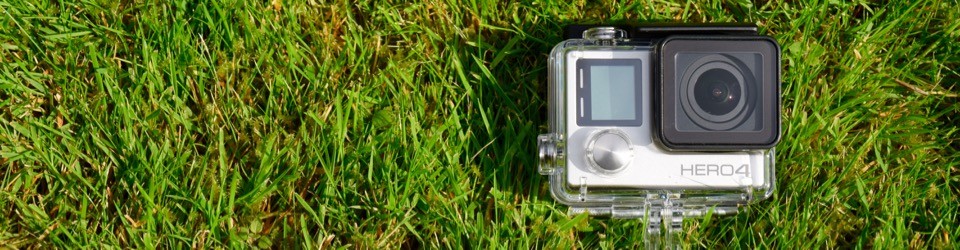
You can get the GoPro Chest Mount Harness On Amazon here:
Here is a nice example of the Chesty in action on some singletrack: